How to install
Our wallpaper mural comes with a thorough tutorial on how to install it. Please don't hesitate to get in touch with us if you have any questions or concerns.
Step 1: Lay Out Your Wallpaper Mural
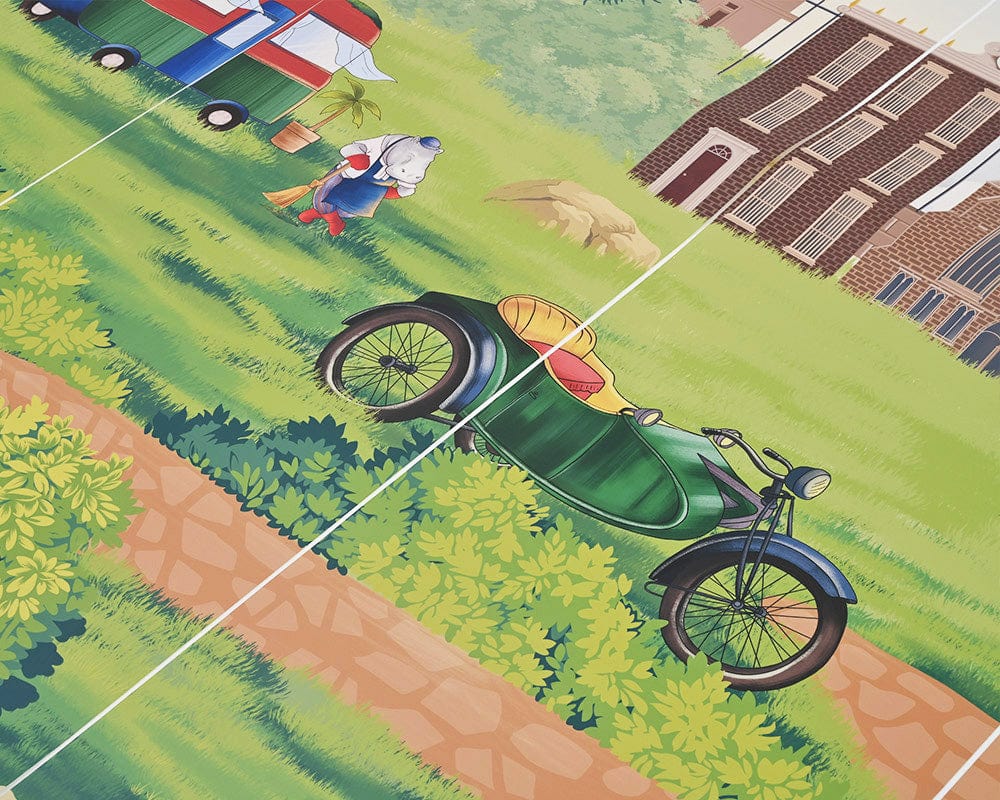
Using a pair of scissors, cut along the dotted lines to divide the wallpaper into its individual strips. Strip 1 should be the first to be placed on the floor in the proper installation order. The strip number should be aligned with the top left corner of each strip to ensure that the wallpaper mural is positioned correctly. From left to right, each strip is numbered sequentially.
It's important to keep in mind that multiple wallpaper murals can be rolled together if you order them all at the same time. Please double-check the image before attempting to install it! Contact our customer service team immediately if there are any issues with the print, and we will work with you to resolve the issue.

Step 2: Apply paste to the wall
For a good wallpaper installation, the initial strip must be hung vertically. Mark the width of the strip with a pencil, then use a level to draw a downward-pointing vertical line on the wall. This will serve as a helpful reference when it comes time to hang the first strip.
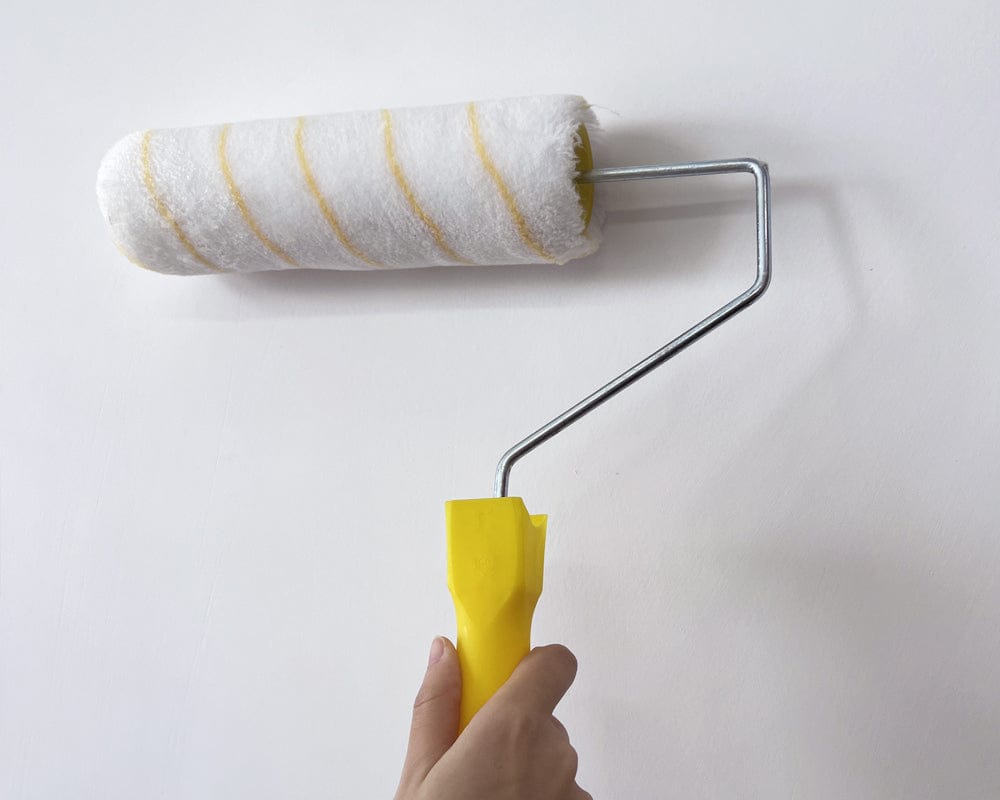
Apply the wallpaper paste directly to the wall using a roller or brush, covering the first marked piece by a few inches with a smooth and even application. If you don't want to get blisters, you need a smooth, even coat. Peel and stick paper with adhesive backing does not need to be glued.

Step 3: Hang the first strip and smooth out the wallpaper
To begin, lift and lightly adhere one end of the first wallpaper strip to the ceiling. Use a spirit level or the plumb line you drew to make sure it's straight. The top of the strip should be firmly pressed down, and then the top edge should be cut off.
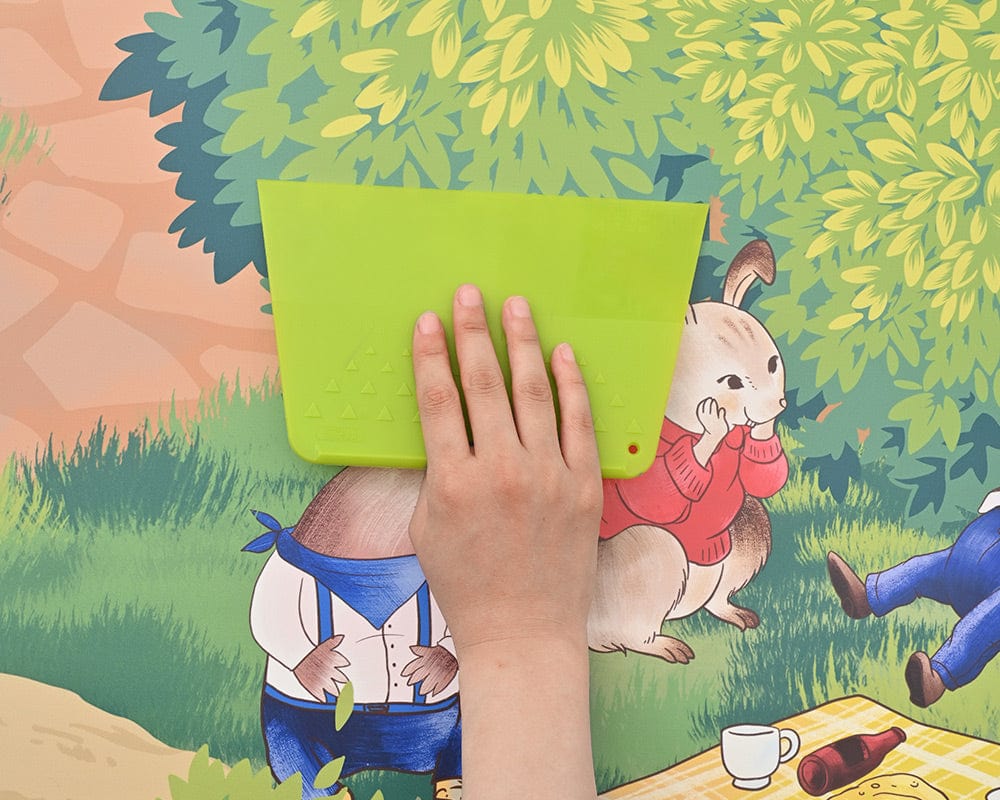
Use the wallpapering tool to smooth the remaining strip, working from top to bottom, middle to bottom, and around the borders. After each strip of wallpaper, wipe the wallpapering tool clean of any remaining adhesive residue.

Step 4: Align the pattern
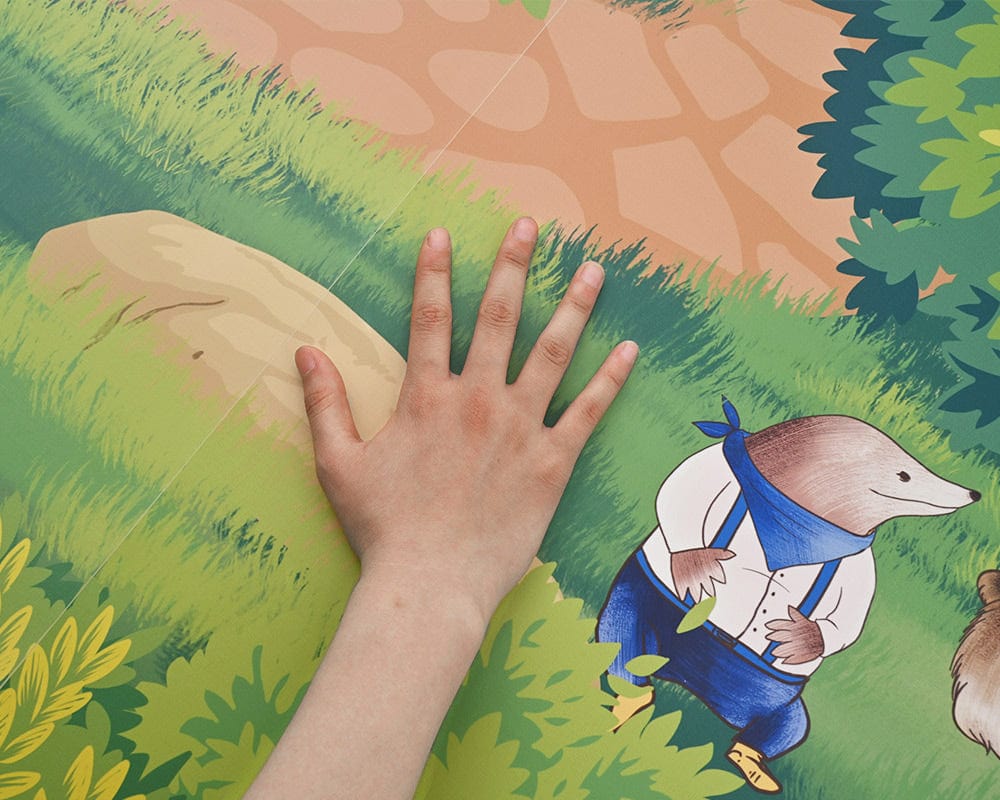
Replicate the process from step 3. Make sure to carefully match the following strip of wallpaper against the first if your wallpaper contains a pattern that needs to be aligned. The label on the roll of paper contains instructions on how to do this.


